
General Settings
Add and manage users
What this does
A user is someone who can log into your WindoorERP database. Add as many as your team needs, and restrict what each one may see with access rights. Both can be changed at any time.
Steps
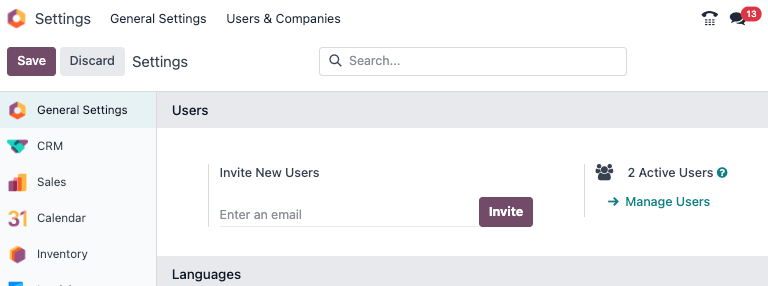
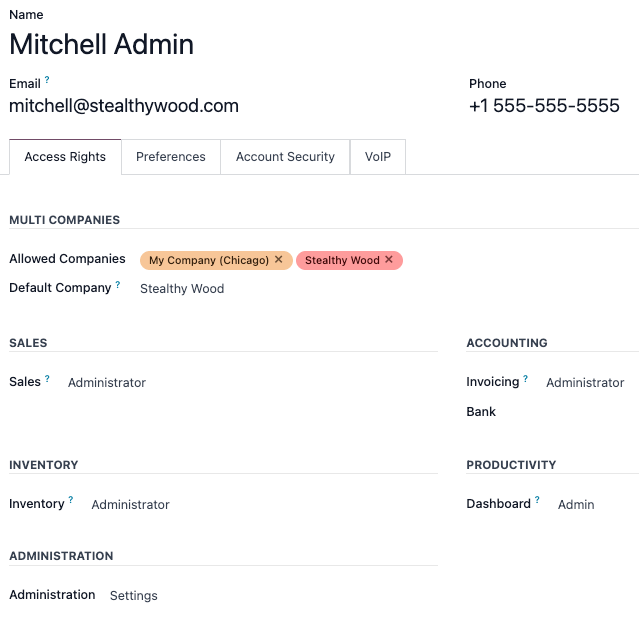
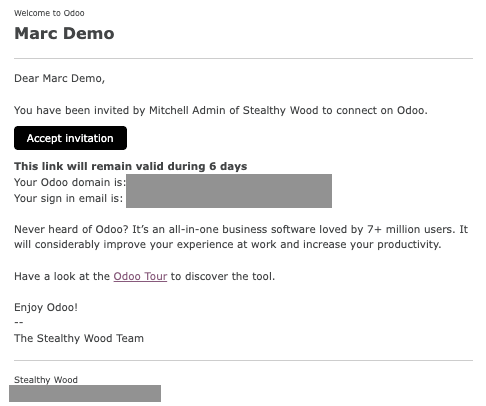
-
01
Go to Settings › Users › Manage Users and click New.
-
02
Fill in the name and the Email Address — the invitation is sent there.
-
03
Open the Access Rights tab and choose, for each application, the level this person needs. Only installed applications are listed.
-
04
Save. An invitation email goes out automatically.
-
05
The user clicks the link in that email to set a password and create their login.
User types
There are three kinds of user. Filter the Manage Users list by Internal User or Portal User to see who is which.
- Internal — your own staff. They work in the back end and consume a seat on your WindoorERP plan.
- Portal — customers and suppliers who sign in to follow their own documents only. Their rights are pre-set and cannot be picked from the Access Rights tab.
- Public — anonymous visitors on the website front end.
Check the devices a user signed in from
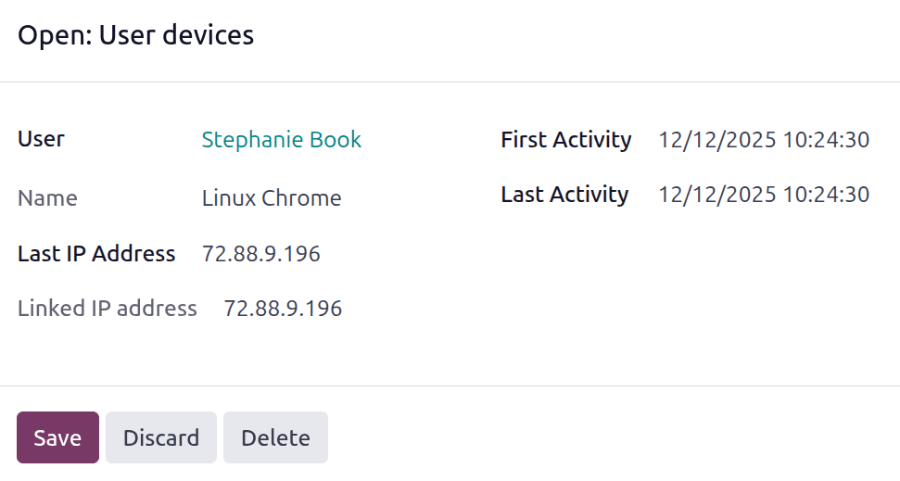
Every login records the device and IP address on the user's profile. Reviewing it now and then is how you notice an account being used by someone else.
- Click your avatar in the upper-right corner and choose My Profile.
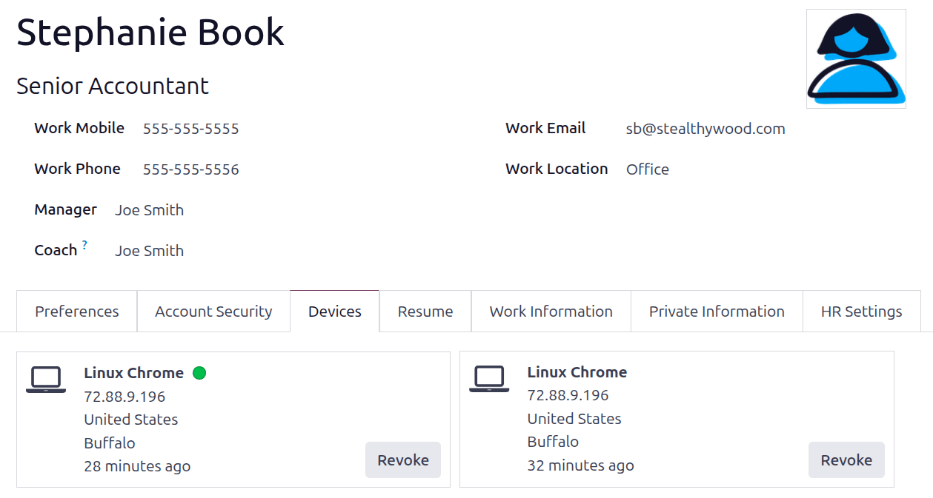
- Open the Devices tab. A green dot marks a device that is signed in right now.
- Click a card to see the Last IP Address, First Activity and Last Activity for that device.
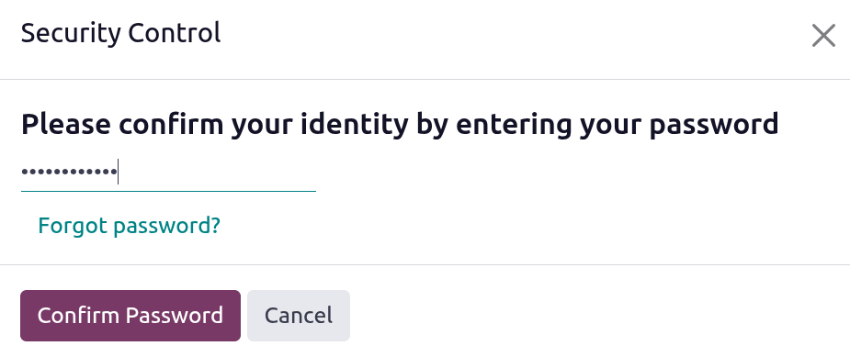
- Click Revoke on anything you do not recognise, confirm your own password, and that device can no longer be used to sign in.
Deactivate a user
Users are never deleted — deleting one would break every record they touched. Archive them instead, and their history stays intact.
- Go to Settings › Users › Manage Users.
- Tick the checkbox to the left of the people to deactivate.
- Click the ⚙ (Actions) icon and choose Archive, then confirm.
An archived user cannot sign in and stops counting against the seats on your WindoorERP plan.
Passwords
Three ways to deal with a password:
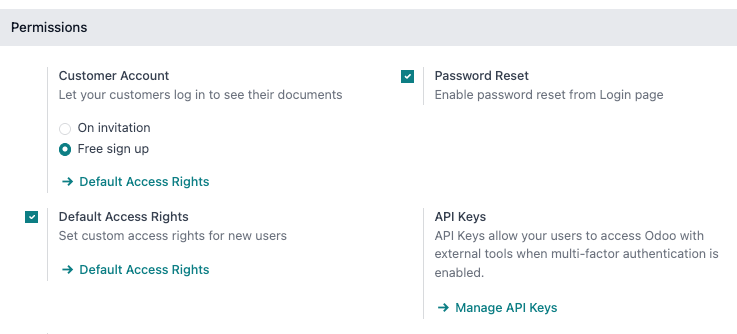
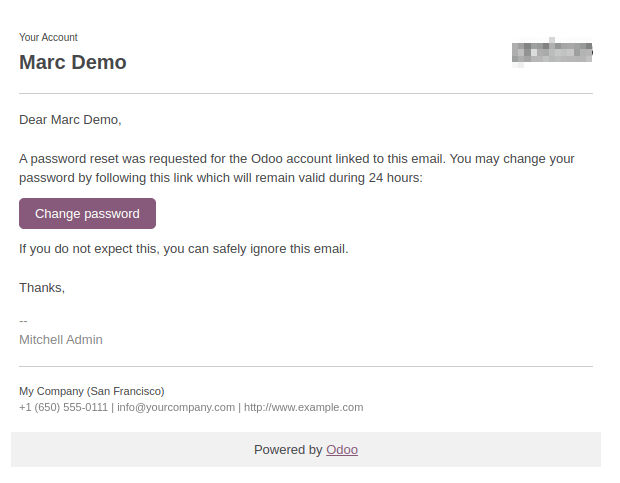
- The user resets it themselves. The Reset Password link on the login page emails them a reset token. Turn it on or off under Settings › Permissions › Password Reset.
- You send the instructions. Open Settings › Users & Companies › Users, pick the user, and click Send Password Reset Instructions. The button only appears once they have accepted their invitation — before that you get Re-send Invitation Email instead.
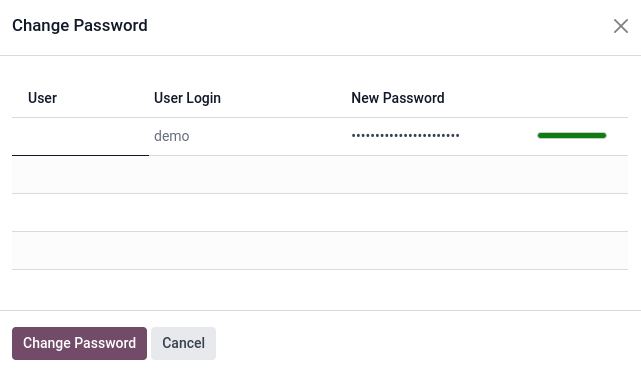
- You set it yourself. On the user form, click the ⚙ (Actions) icon, choose Change Password, type the new one, and confirm.
To force a minimum password length, install the Password
Policy (auth_password_policy) module, then set
Minimum Password Length under
Settings › Permissions. The default is 8.
Give a user access to several companies
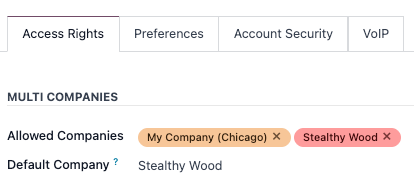
On the user form, under Access Rights › Multi Companies, set:
- Allowed Companies — every company this person may open. Several are allowed.
- Default Company — the one they land in at each sign-in. Exactly one.
Common mistakes
- Deleting a user instead of archiving them — archive keeps the audit trail; delete is refused or destructive.
- Adding more internal users than your WindoorERP plan covers. An overage notice appears first; contact info@windoorerp.com to add seats before the extra accounts are blocked.
- Getting multi-company access half-right: a user allowed into two companies but defaulted into the wrong one will file documents in the wrong entity all day without noticing.
Was this article helpful?
Thanks — your feedback helps.
Running a window or door factory?
Ask for a demo